Deploying the RocketCyber Agent via VSA 9
This guide will walk you through using the Kaseya agent procedure to deploy the RocketCyber Agent.
Agent procedure overview
- The console generates an agent procedure per organization that automatically includes the information required to deploy the agent, specifically the license key and the URL.
- The agent procedure checks if the agent is already installed before performing an installation.
- If the agent procedure does not detect an installed agent, it will download the agent installer package to the local machine and execute it.
Steps in RocketCyber
After logging in to your RocketCyber instance, complete the following steps:
- From the left navigation menu, click All Organizations.
- Click Deploy for the applicable organization.

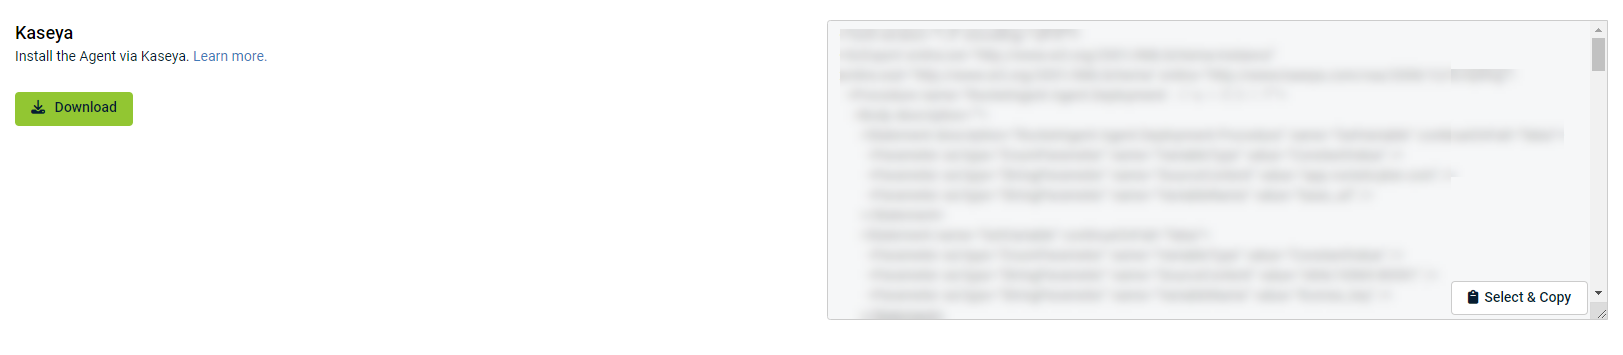
- In the Kaseya section, click Download.
Steps in VSA 9
After logging in to your VSA 9 instance, complete the following steps:
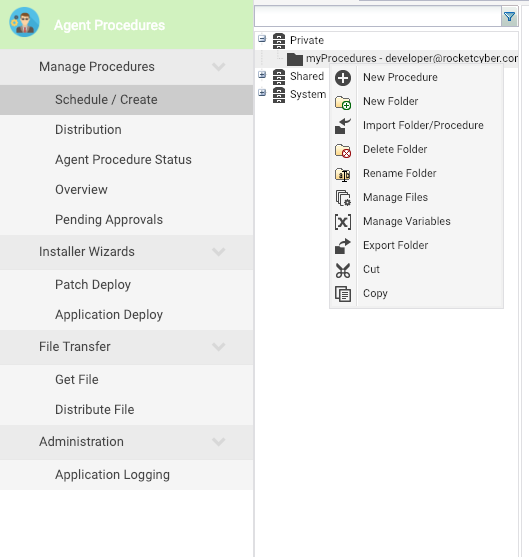
- From the left navigation menu, click Agent Procedures.
- Choose a destination folder for the procedure. Right-click the folder name and select Import Folder/Procedure.
- The Import Folder/Procedure dialog box will open. Click the browse (camera) icon to the right of the Upload an XML file for Import field.
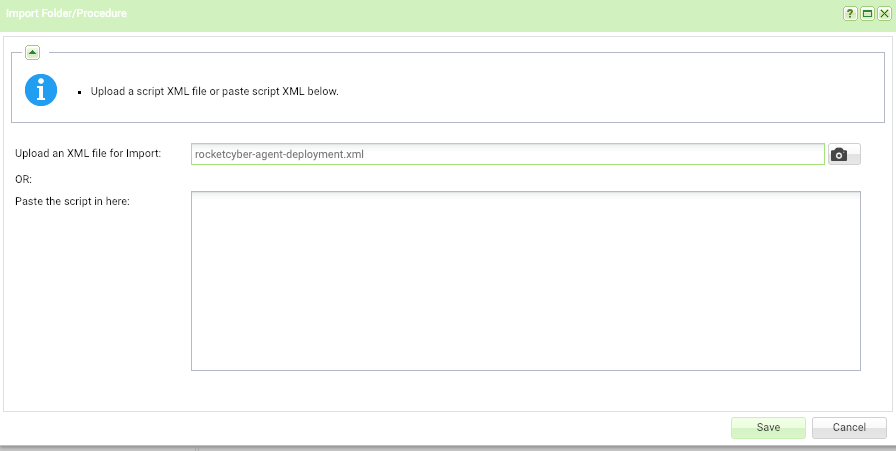
- Browse to the file previously downloaded from RocketCyber and click Open.
- Click Save to upload the selected agent procedure. The agent procedure will now be listed in the folder you selected.
- Click Schedule / Create from the Agent Procedures page.
- Click the newly imported agent procedure in the list.
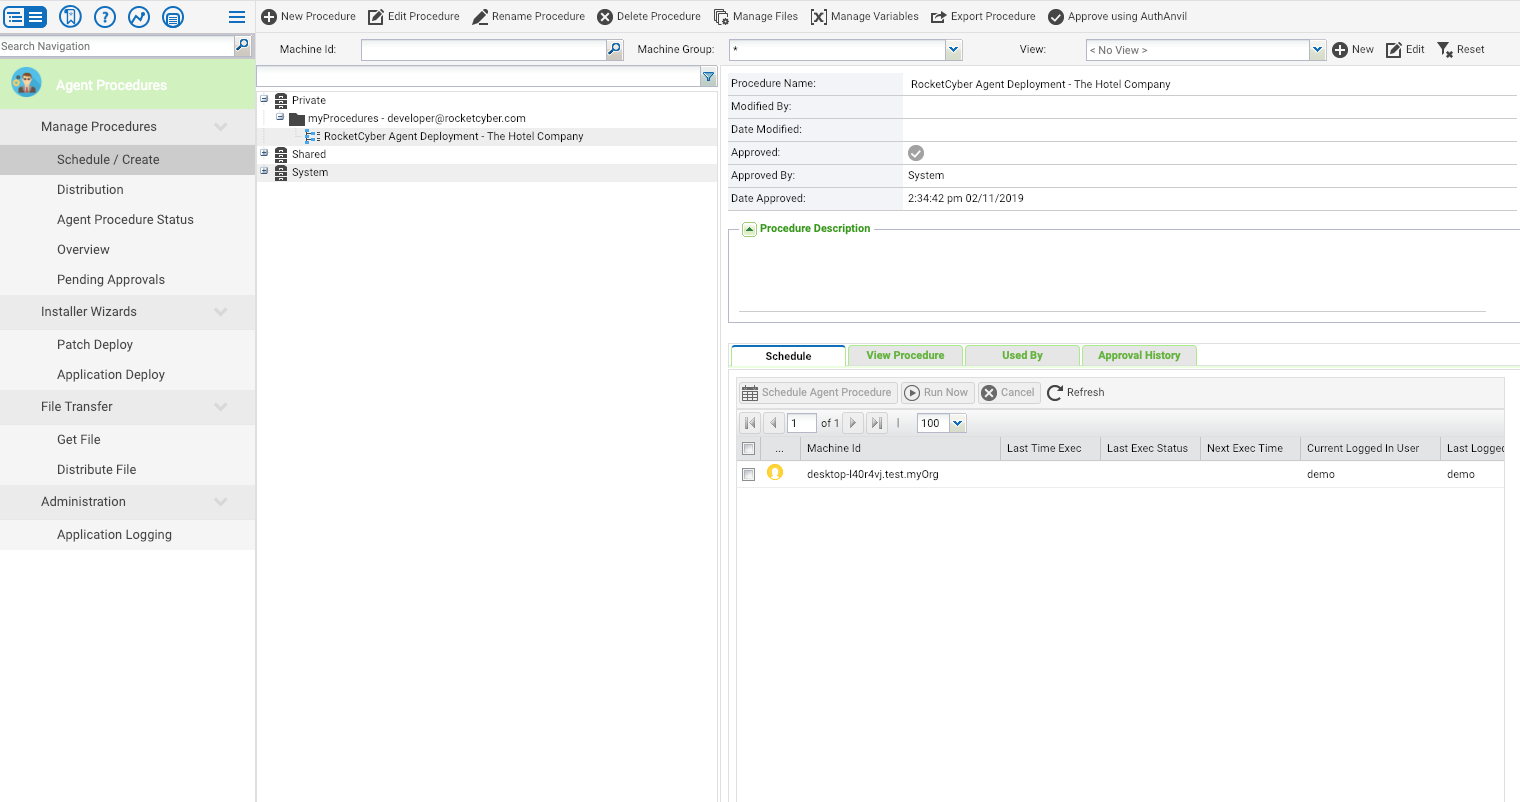
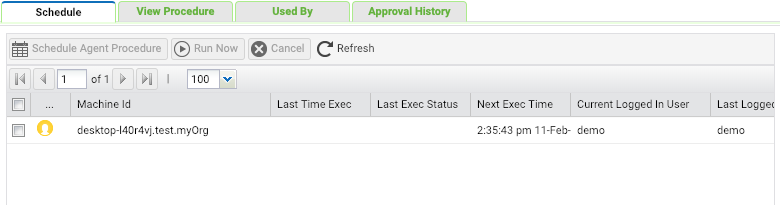
- From the Schedule tab, you can now select the appropriate devices and create a specific scheduled deployment or click Run Now to execute the agent procedure on all selected devices.
NOTE You'll notice that the imported agent procedure contains the organization name. This will make it easier to identify the specific agent procedure per organization when running deployments across multiple organizations.


